Models AA-5, AA-5A & AA-5B Annual or 100-hour Inspection
GRUMMAN AA-5A Cheetah · Maintenance Manual
Overview
This document outlines the annual or 100-hour inspection procedures for the Grumman AA-5, AA-5A, and AA-5B aircraft models. It provides a comprehensive checklist and guidelines to ensure thorough inspections are conducted in compliance with FAA regulations.
- Inspection must follow a checklist as per FAR 43.15(c)(1).
- Mechanics should refer to the maintenance handbook and service bulletins.
- All aircraft documents must be present during inspections.
- Pre-inspection engine run-up is required to facilitate oil drainage.
- Specific procedures for engine, propeller, cabin, and fuselage inspections are detailed.
- Operating limitations placards must be displayed.
- Weight and balance sheet must be included in the aircraft documents.
- Inspection procedures include checks for leaks, secure mountings, and proper operation.
Summary written by AI from the source document. Check the original before relying on it. See which parts of Sprinkle are written by AI.
Reference only, not for flight. Use the current approved manual for your aircraft. See terms, section 5.
Document
Source
Copy found at yankee-aviation.com. Sprinkle hosts a reference copy with an added summary, specifications and searchable full text.
Document details
- Type ·
- Maintenance Manual
- File size ·
- 121 KB
- Copy found at ·
- yankee-aviation.com
- Language ·
- en
Common. More common than 98% of the aircraft models we track.
Most owners only have the POH. Here's the essential set for the GRUMMAN AA-5A Cheetah.
- Pilot's Operating Handbook / AFM
- Checklist
- Maintenance Manual
- Parts Catalog (IPC)
- Systems & Wiring
- Service Bulletins on file
- Type Certificate (TCDS)
GRUMMAN AA-5A Cheetah for sale now
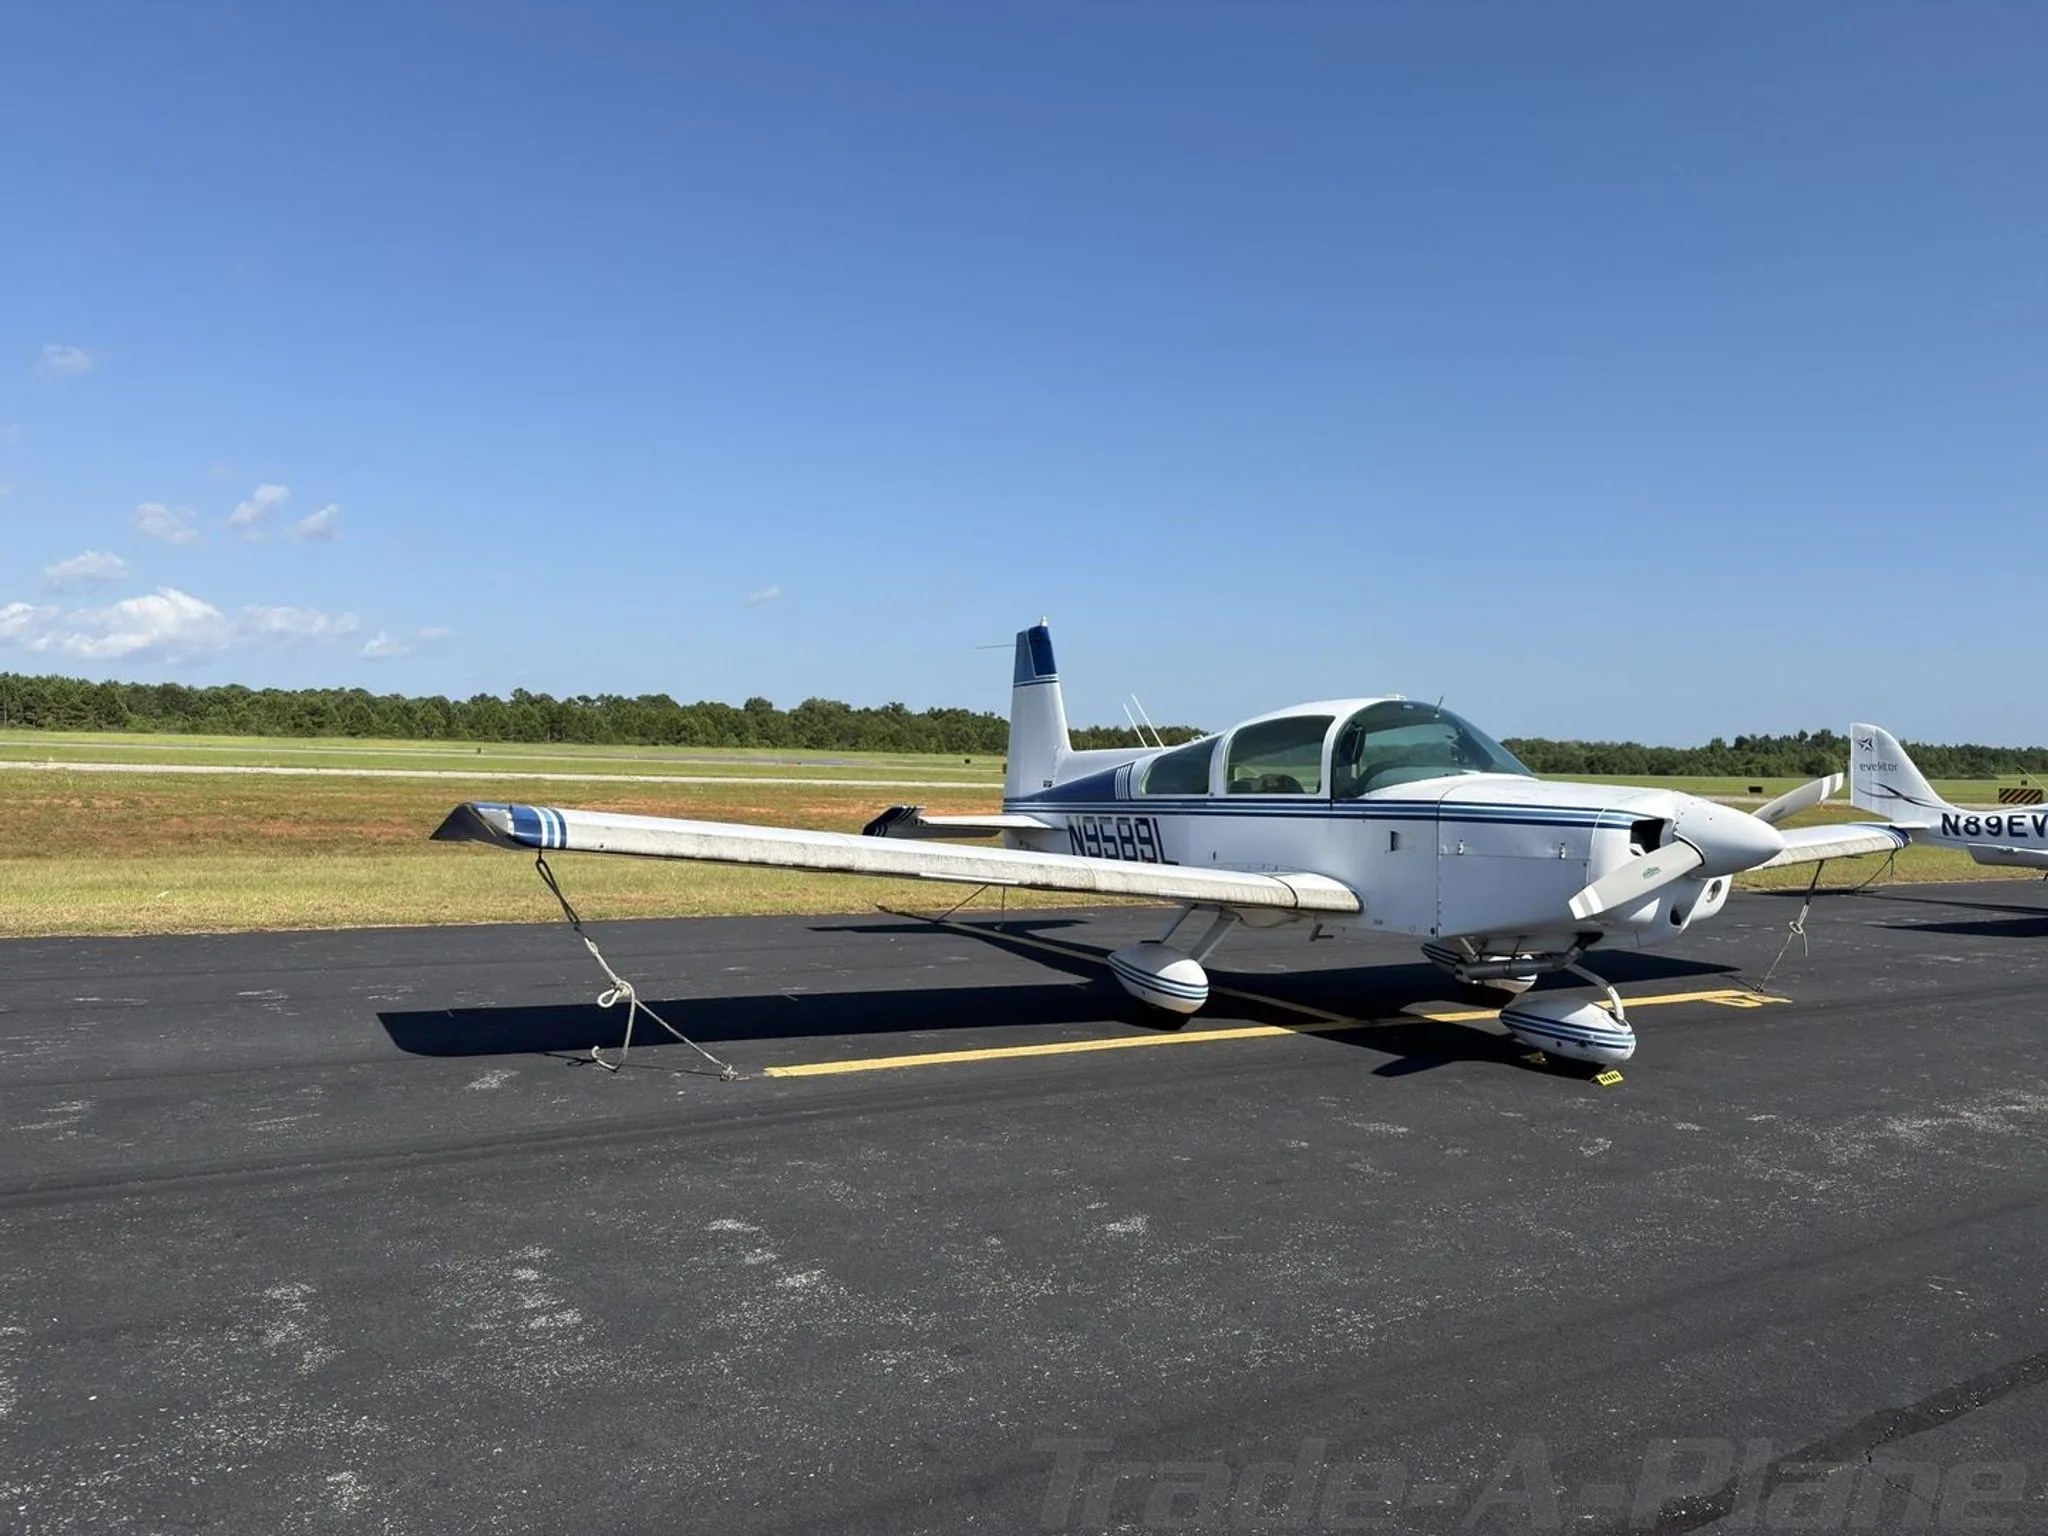
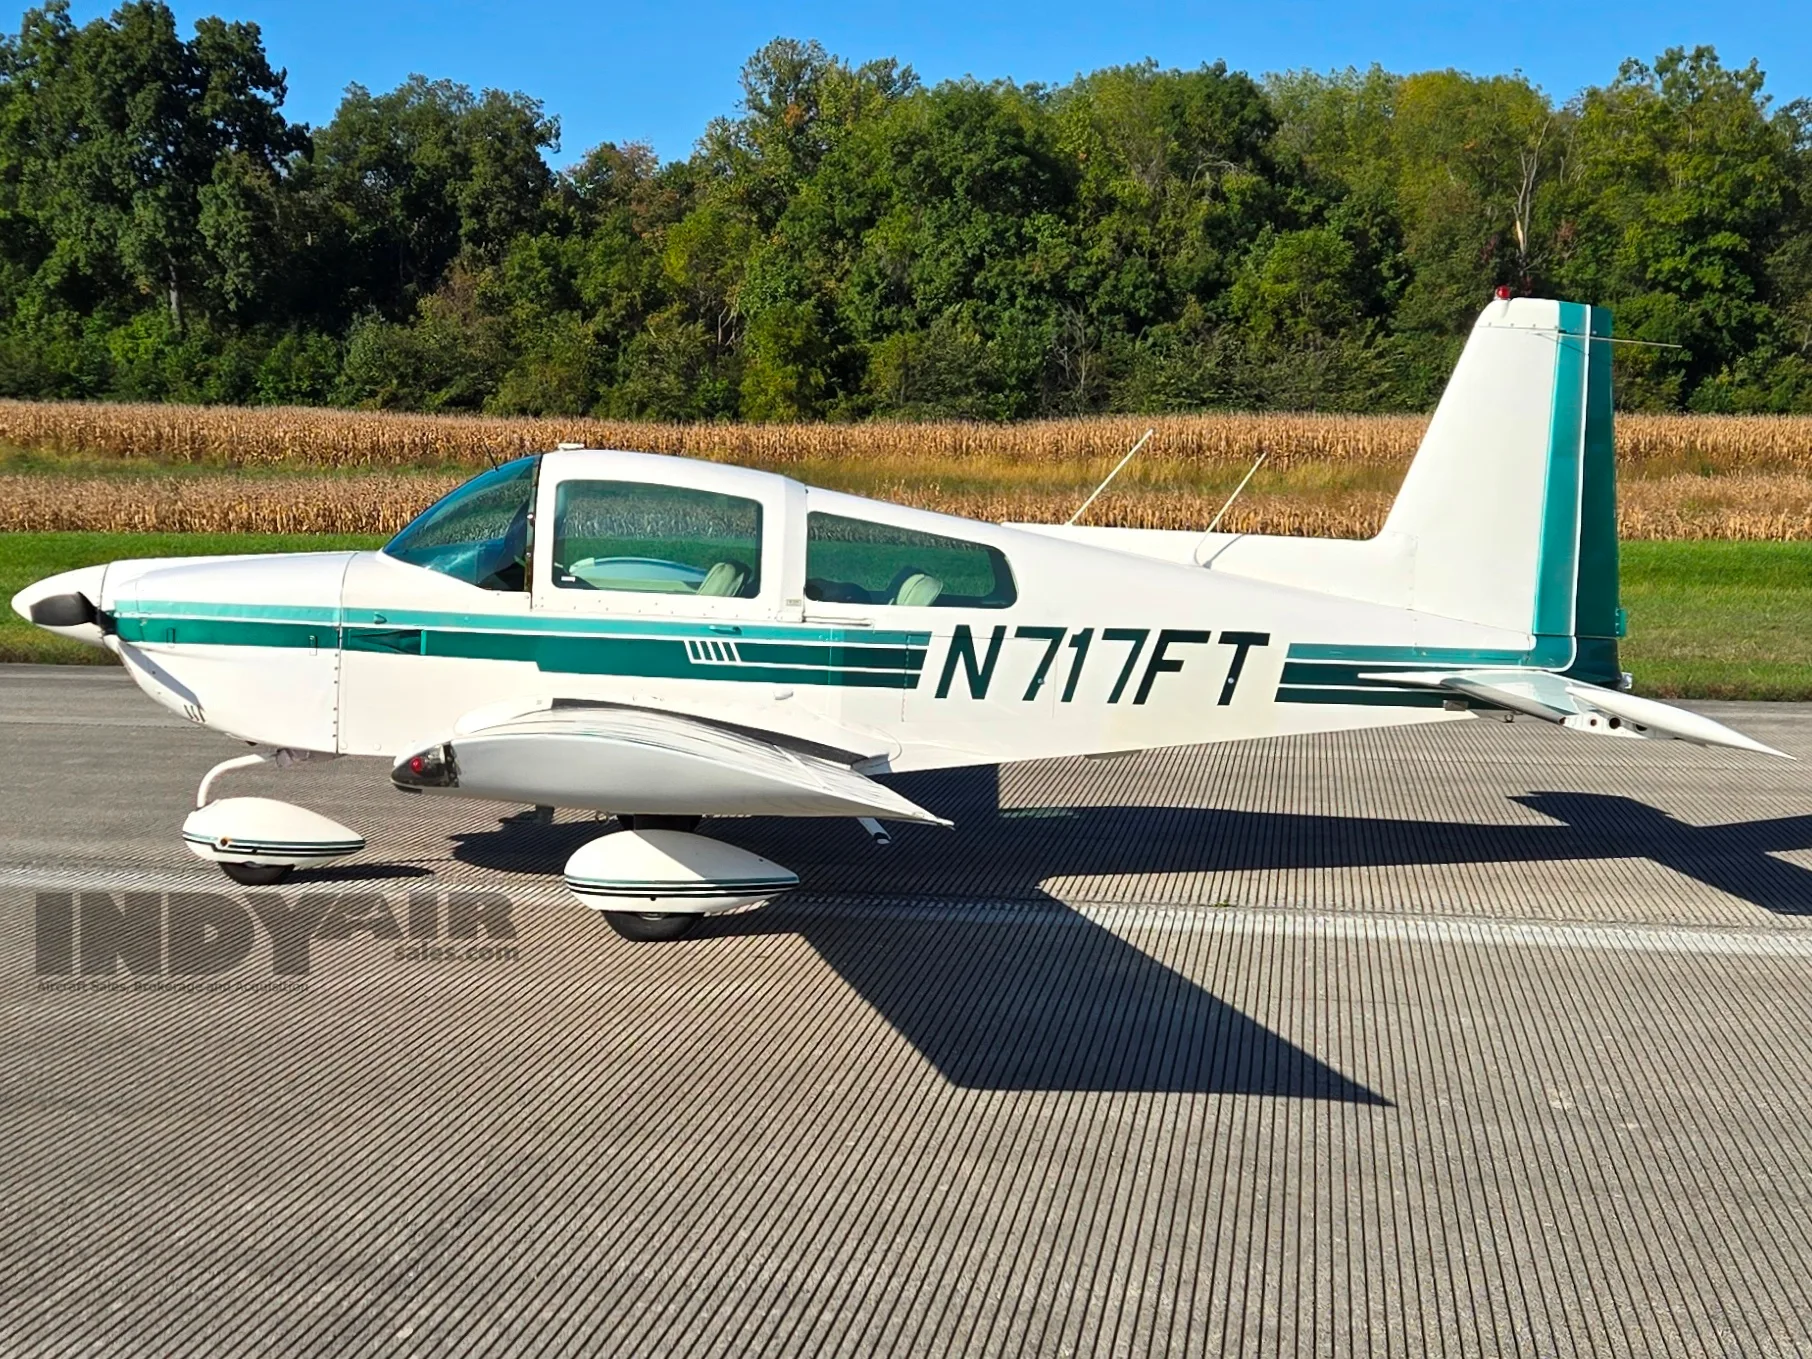
Free — save the AA-5 to your watchlist and track it in one place.
More GRUMMAN AA-5A Cheetahmanuals & documents
Related documents
- PA-24/24-250/260/400 COMANCHEPiper PA-24 Comanche 260 · Checklist
- 50-Hour/100-Hour/Annual Maintenance Inspection GuideMooney M20U Ovation Ultra · Pilot's Operating Handbook
- Commander Inspection ProgramCOMMANDER 114B · Checklist
- 100 Hour-Annual Inspection GuideMooney M20R Ovation · Checklist
- CESSNA 120/140 100 HOUR / ANNUAL CHECKLISTCessna 120 · Checklist
If you fly the GRUMMAN AA-5A Cheetah, you may also be researching these.



In this document
Inspection Guidelines
Mechanics must use a checklist for annual or 100-hour inspections, ensuring compliance with FAA specifications and service bulletins.
Pre-Inspection Engine Run Up
An engine run-up is required before inspections to check fuel pressure, oil pressure, magneto RPM drop, and static RPM.
Engine Group Inspection
Detailed procedures for inspecting the engine include checking oil, spark plugs, ignition harnesses, and fuel systems.
Cabin Group Inspection
Inspection of the cabin includes checking seat belts, control systems, and electrical wiring for condition and secure mounting.
Fuselage and Empennage Group
Inspection procedures for the fuselage and empennage include checking for structural integrity and secure mountings.
Documentation Requirements
All necessary aircraft documents must be present and in order, including airworthiness and registration certificates.
Summary written by AI from the source document. Check the original before relying on it. See which parts of Sprinkle are written by AI.
Safety notes
- Ensure all aircraft documents are carried in the aircraft at all times.
- Check for compliance with FAA Airworthiness Directives.
- Inspect for leaks and secure mountings during engine checks.
- Replace rudder pedal springs at 1,000 hours.
- Check for fraying in cables during control operation.
- Verify correct quantity and rating of spare fuses.
Summary written by AI from the source document. Check the original before relying on it. See which parts of Sprinkle are written by AI.
Full document text
Models AA-5, AA-5A & AA-5B Annual or 100-hour Inspection Registration Number Serial Number Hours Registered Owner(s) Street Address City State/ Postal Code Provence Inspector Signature License No. Date Airport/City State/ Provence Guidelines FAR 43.15(c)(1) states; Each person performing an annual or 100-hour inspection shall use a check list while performing the inspection. The check list may be of the person’s own design, one provided by the manufacturer of the equipment being inspected, or one obtained from another source. This checklist must include the scope and detail of the items contained in appendix D to this part and paragraph (b) of this section. The following pages contain a comprehensive annual or 100-hour inspection procedure check list. This check list has been prepared to assist a mechanic in performing a detailed inspection of such scope and detail that when the inspection is completed, the mechanic is absolutely sure that he has not over-looked any areas, even though he may not have previous experience on this particular model aircraft. Once a mechanic becomes familiar with this aircraft, he may wish to prepare his own check list, which must be within the scope of appendix D of FAR part 43. Check for conformity’ with FAA Specifications, Airworthiness Directives, and Gulf- stream American Corporation and Supplier’s Service Bulletins and Letters. Note It is recommended that reference be made to the applicable maintenance hand- book, service bulletins, letters, installation instructions, and vendor specifications for torque values, clearances, settings, tolerances, and other specification data. page 1 of 11 Models AA-5, AA-5A, and AA-5B Annual or 100-hour Inspection Procedure 1. Perform Annual or 100-hour Inspection. Complete the inspection by performing each of the procedures detailed on the checklist which follows. Indicate completion by initialing in the appropriate column. 2. In addition to the Servicing Guide and Annual or 100-hour Inspection Procedure, the following steps should be adhered to when performing an inspection or overhaul: (a) Check any FAA Airworthiness Directive or Gulfstream American Service Bulletins and Letters for com- pliance at the time specified thereon. Also, check appropriate sections of the Maintenance Manual. (b) Check that all aircraft documents are present and in order: • Aircraft Airworthiness Certificate (Form FAA 8100-2) • Aircraft Registration Certificate (Form FAA 8050-1 or FAA 8050-3) • Weight and Balance Sheet • Aircraft Equipment List • Any Repair and Alteration Forms if applicable (Form FAA 337) • Aircraft Radio Station License if applicable (Form FCC 566 or FCC 453B) • Aircraft and Engine Log Books Note: All of the above items except the log books must be carried in the aircraft at all times. Form FAA 8100-2 (Airworthiness), FAA 8050-3 (Registration), and, if applicable, FCC 556 or FCC 453-B (Radio Station) must be visually displayed. (c) Check that operating limitations placards (reference Maintenance Manual Chapter 11) are displayed. Pre-Inspection Engine Run Up Prior to beginning the annual or 100-hour inspection, an engine run up is to be made to facilitate oil drainage and to observe the following, noting any discrepancies. Insp Mech Procedure Remarks Pi1 Fuel pressure (0.5 to 8 psi): Electric Pump only prior to engine start up Engine Pump only after engine start up Both Pi2 Oil pressure: 60 to 90 psi Idling: ⇠25 psi Actual Actual Pi3 Magneto rpm drop: (175 rpm maximum drop on either magneto; no more than 50 rpm di↵erence between magnetos.) Actual Drop Left Actual Drop Right page 2 of 11 Models AA-5, AA-5A, and AA-5B Annual or 100-hour Inspection Pre-Inspection Engine Run Up (continued) Insp Mech Procedure Remarks Pi4 Static rpm: AA-5 & AA-5A AA-5B (2250-2375) (2150-2275) Actual Actual Pi5 Idling speed: AA-5 & AA-5A AA-5B (600 to 650 rpm) (500 to 650 rpm) Actual Actual Pi6 Ammeter (no steady discharge in normal operat- ing range). Pi7 Suction gauge (4.6 to 5.4 in. Hg.). Pi8 Fuel selector (check operation in all positions). Pi9 Carburetor heat control. Pi10 Engine response to change in power. Pi11 Idle cut-o↵. Propeller Group Insp Mech Procedure Remarks Pr1 Remove spinner and check for cracks, scratches, scoring, dents, nicks, and distortions. Pr2 Inspect blades for erosion, scratches, nicks, and cracks. Dress out nicks as required. Pr3 Inspect spinner back plate, bulkhead, and doubler for cracks and secure mounting. Pr4 Check front crankshaft seal for oil leaks. Pr5 Check propeller mounting bolt torque: foot-pounds or inch-pounds.⇤ Resafety propeller and mounting bolts. Pr6 Reinstall spinner. Check spinner run out inch maximum.⇤ Engine Group Insp Mech Procedure Remarks Eg1 Remove engine cowl. Clean and check for cracks, wear, distortion, loose or missing fasteners, and landing light attachment. ⇤Refer to Maintenance Manual Chapter 61 and insert required values here applicable to your aircraft for quick reference during inspection. page 3 of 11 Models AA-5, AA-5A, and AA-5B Annual or 100-hour Inspection Engine Group (continued) Insp Mech Procedure Remarks Eg2 Drain oil sump. Remove oil screen(s), clean, and inspect for metal particles. Reinstall and resafety. Replace oil filter (if installed). Cut apart and in- spect old filter for metal particles. Eg3 Check oil temperature sending unit, oil lines, cooler, and fittings for leaks, chafing, dents, cracks, and secure mounting. Eg4 Fill engine with oil per lubrication chart (reference Maintenance Manual Chapter 12). Eg5 Clean engine. Eg6 Check engine cylinder compression: #l: #2: #3: #4: Eg7 Clean and regap or replace spark plugs as required. (See latest revision of Lycoming Service Instruc- tion No. 1042). Eg8 Check ignition harnesses. Clean and inspect insu- lators. Eg9 Check magneto timings, oil seal leakage, and dis- tributor blocks for cracks, burned areas, and cor- rosion.
Show full textShow less
Eg10 Remove and service air filter (see Maintenance Manual Chapter 73 for details). Inspect carbu- retor heat control valve plate, shaft, valve plate to shaft screws, and bearings for signs of wear and security. Replace filter and/or gasket if damaged or defective. Reinstall carburetor air filter. Eg11 Check induction air intake seals for leaks, deterio- ration, and hardness. Check flex ducts for broken or loose strings, loose or displaced supporting wire, and general overall condition for signs of wear or perforation. Eg12 Drain carburetor bowl. Reinstall drain plug. Re- move and clean carburetor fuel inlet screen with acetone. Reinstall screen. Eg13 Remove and clean electric fuel pump filter. Rein- stall and resafety. Eg14 Check fuel pump for proper operation and secure mounting. Pressurize fuel system with electric pump and inspect fuel system and lines for leaks. Check fuel primer for operation and line leaks. Eg15 Check starter for secure mounting. page 4 of 11 Models AA-5, AA-5A, and AA-5B Annual or 100-hour Inspection Engine Group (continued) Insp Mech Procedure Remarks Eg16 Check security of throttle arm on carburetor. Check throttle, carburetor heat, and carburetor mixture controls for proper travel, security, oper- ating condition, and control cushion. Eg17 Remove exhaust shroud and check mu✏er tailpipe, risers, clamps, gaskets, and exhaust system for cracks, leaks, and secure mounting. Reinstall shroud. Eg18 Check breather tube for obstructions and secure mounting. Eg19 Inspect cylinders for evidence of excessive heat in- dicated by burned paint on the cylinder. Check for cracks, loose bolts, oil leaks, and general con- dition. Eg20 Inspect engine mount for cracks, secure mounting, and proper safety wiring. Check rubber vibration dampeners for signs of deterioration. Replace as required. Eg21 Check all ba✏es for cracks, loose or missing screws, and deteriorated seal material. Eg22 Check alternator for secure mounting and lugs and brackets for cracks. Check condition and ten- sion of alternator drive belt. Replace if required. (Adjust belt tension to yield a 5/16 in. deflection at the center of the belt when applying a pres- sure equivalent to 14 pounds for new belts and 10 pounds for used belts.) Eg23 Check battery electrolyte level and specific grav- ity. Clean and tighten battery terminals. Check battery box drains and vents for condition and drainage clear of aircraft structure. Eg24 Inspect vacuum system components (if installed) for secure mounting. Check vacuum pump drive for evidence of seal leakage. Replace seal and pump if required. Check all interconnecting lines and fittings for leaks, deterioration, and damage. Replace as required. Eg25 Check ground straps for condition and secure at- tachment. Eg26 Check electrical wiring for condition and secure connections including shielded cable ground con- nections. Eg27 Check voltage regulator, starter relay, and mas- ter switch relay for secure mounting and proper operation. page 5 of 11 Models AA-5, AA-5A, and AA-5B Annual or 100-hour Inspection Engine Group (continued) Insp Mech Procedure Remarks Eg28 Install cowl, checking for proper engagement of air intake duct and cowl latches. Cabin Group Insp Mech Procedure Remarks Cg1 Remove front seats, fold rear seat forward, remove cover from rear seat support, and remove console side panels. Cg2 Check windshield, windows, and canopy for cracks and secure mounting. Clean and lubricate canopy rails. Check canopy operation and locking devices. Cg3 Check seat belts and shoulder harnesses for con- dition and secure mounting. Cg4 Check elevator trim control for condition, secure mounting, proper operation, and indication. Cg5 Check rudder pedal and brake system for proper operation and condition. Check brake fluid level. Replace rudder pedal springs at 1,000 hours. Cg6 Check control “T” for secure mounting and ade- quate clearance from other equipment. Cg7 Check chains, cables, pulleys, turnbuckles, and ca- ble ends for condition, secure attachment, and safeties. Specifically check cables at pulley’s for fraying while actuating controls through full travel, (maximum of four broken wires accept- able). Cg8 Check cable tension at the average temperature for aircraft operation. Cg9 Check all controls for clearance and proper oper- ation. Cg10 Check all interior bond lines for any indications of damage, peeling, or cracking. Cg11 Check nose gear torque tubes and mounting brack- ets and bond joints for cracks and secure mount- ing. Check torque on mounting bolts: center bear- ing bracket bolts 185-195 in-lb. and end plate bolts 300-350 in-lb. Cg12 Check flap actuator, push rods, limit switches, and indicator for proper operation and secure mount- ing. Cg13 Lubricate per lubrication chart (Maintenance Manual Chapter 12). page 6 of 11 Models AA-5, AA-5A, and AA-5B Annual or 100-hour Inspection Cabin Group (continued) Insp Mech Procedure Remarks Cg14 Check all plumbing in cabin for leaks and condi- tion. Cg15 Disassemble, clean, lubricate, and reassemble fuel selector valve every 500 hours. See fuel system section for details. Cg16 Check gyro system filters (if installed), replace if necessary. Cg17 Check instruments for condition, secure mounting, and legible markings. Cg18 Check electrical wiring switches, lights, and elec- tronic equipment for condition and security. Cg19 Inspect baggage compartment, baggage door, and cargo tie-downs. Cg20 Inspect all placards in cabin for condition and leg- ibility. Cg21 Reinstall cover over rear seat support, console side panels, and front seats. Cg22 Check fresh air vents for proper operation. Cg23 Check radio cooling passage for blockage (if in- stalled). Cg24 Check and verify correct quantity and rating of spare fuses mounted in right side of glove box. Fuselage and Empennage Group Insp Mech Procedure Remarks Fe1 Remove tailcone and empennage covers. Fe2 Inspect emergency locator transmitter for security, operation, and battery expiration date. Fe3 Inspect exterior surfaces for condition and dam- age. Check all drain holes in the fuselage bottom for obstructions. Fe4 Inspect bond lines for any indication of damage, peeling, or cracks. Fe5 Check ventral fin (Model AA-5), horizontal and vertical stabilizers for damage and secure mount- ing. Insure that horizontal stabilizer and elevator drain holes are open. Fe6 Check elevator, elevator bearings and stops, rud- der, rudder bearings and stops, tab hinges, and bellcranks for damage, travel, and proper opera- tion. Maximum allowable torque tube wear limit at bearing supports is 0.030 in. reduction in wall thickness. page 7 of 11 Models AA-5, AA-5A, and AA-5B Annual or 100-hour Inspection Fuselage and Empennage Group (continued) Insp Mech Procedure Remarks Fe7 Check elevator trim mechanism for damage, secure mounting, and proper operation. Fe8 Check rudder and elevator cables and pulleys for damage, proper operation, and safeties. Check bellcrank attaching bolts for wear. Fe9 Lubricate per lubrication chart (Maintenance Manual Chapter 12). Fe10 Inspect antenna mountings, wiring, and electronic installations. Fe11 Check position and anti-collision light(s) for secure mounting. Fe12 Check static system lines and the alternate air source valve (if installed). Drain any accumulated moisture from system drain. Fe13 Reinstall inspection covers. Wing Group Insp Mech Procedure Remarks Wg1 Remove wing tips and access panels. Inspect sur- faces, skins, ribs, and tips for damage. Check po- sition and anti-collision lights for secure mounting. Insure that all wing drain holes are open. Wg2 Visually inspect interior and exterior bond lines for any indication of damage, peeling, or cracks. Wg3 Check ailerons, aileron bearings and stops, flaps, and flap bearings for secure mounting, damage, proper travel, and wear. Maximum allowable aileron torque tube wear limit at bearing supports is 0.030 in. reduction in wall thickness. Check that aileron flap and drain holes are open. Check that aileron balance weight tube arm I.D. is open, cor- rosion free, and zinc coated (early aircraft only). Wg4 Check fuel vents and connecting lines for damage and restriction. Wg5 Check fuel tanks, sump tanks and lines for evi- dence of leakage. Check sump tanks and lines for secure mounting. Wg6 Check fuel cap gaskets for air tight seal. Wg7 Check wing and outboard wing section attaching bolts. Torque to 60-85 in-lb. Wg8 Inspect fuel tank placards. Wg9 Check pitot heating element for proper operation (if installed). page 8 of 11 Models AA-5, AA-5A, and AA-5B Annual or 100-hour Inspection Wing Group (continued) Insp Mech Procedure Remarks Wg10 Check pitot tube opening and lines. Drain accu- mulated moisture. Wg11 Check for interior corrosion of skin indicated by a white flaking ash. Main Landing Gear Group Insp Mech Procedure Remarks Mg1 Remove wheels and check for cracks. Check con- dition of brake linings, wheel cylinders, torque plates, and mounting pins. Pack wheel hear- ings, reinstall wheels, and key axle nuts at first 100 hours and each 500 hours thereafter. Inspect wheel bearing grease for contamination and solid- ification at each annual or 100 hour inspection. For operation in dusty areas or areas of high hu- midity, repack every 100 hours. Perform a com- plete wheel inspection when tires are replaced. Mg2 Check tires for approved type, wear, and proper inflation. Mg3 Check brake lines for leaks and secure attachment. Mg4 Check struts for secure mounting. Inspect for cracks, delamination, and nicks. Mg5 Inspect the upper main mounting brackets and spar attaching supports (center spar to fuselage) for wear, cracks, loose bolts, and corrosion. Mg6 Inspect wheel and strut fairings for damage and secure mounting (if installed). Nose Gear Group Insp Mech Procedure Remarks Ng1 Check nose gear strut for secure mounting, defor- mation, damage, and cracks. Ng2 Remove nose gear strut from torque yoke and in- spect for corrosion of the faying surfaces every 12 calendar months. Remove corrosion if present, paint surfaces with zinc-chromate, and reassemble wet. Seal strut to yoke connection with RTV-102 by Dow Corning (or suitable silicon sealant). Ng3 Remove and check nose gear fork for deformation, wear, and cracks. Maximum fork to strut bearing clearance is 0.035 in. page 9 of 11 Models AA-5, AA-5A, and AA-5B Annual or 100-hour Inspection Nose Gear Group (continued) Insp Mech Procedure Remarks Ng4 Grease fork and friction dampener, assemble to strut, and tighten to 10–22 lb. drag at axle. Ng5 Remove nose wheel, check for cracks, clean, in- spect and repack bearings, reinstall wheel, and safety axle at first 100 hours and each 500 hours thereafter. Inspect wheel bearing grease for con- tamination and solidification at each annual or 100-hour inspection. For operation in dusty areas or areas of high humidity, repack every 100 hours. Perform a complete wheel inspection when tire is replaced. Ng6 Check tire for approved type, wear, and proper inflation. Ng7 Check wheel fairing for damage and secure mount- ing (if installed). Operational Inspection Insp Mech Procedure Remarks Oi1 Check brake operation (including parking brake). Oi2 Check fuel primer operation and lines for leaks. Oi3 Check booster pump operation. Oi4 Check fuel pressure. Oi5 Check starter for proper operation. Oi6 Check oil pressure and temperature. Oi7 Check engine controls for proper operation. Check throttle control for proper cushion. Oi8 Check magneto operation; both ON, left OFF; both ON, right OFF; both ON. (Maximum mag- neto drop 175 rpm with 50 rpm maximum di↵er- ence between magnetos.) With engine at idle, turn switch to OFF position momentarily to check magneto grounding. Oi9 Check engine static rpm: 2250-2375, Model AA-5 and AA-5A 2150-2275, Model AA-5B. Oi10 Check carburetor heater for proper operation. Oi11 Check alternator output. Oi12 Check suction gauge and vacuum system output 4.6 to 5.4 in. Hg. Oi13 Check fuel selector valve operation and indexing. Oi14 Check heating, defrosting, and ventilating system for proper operation. Oi15 Check radio for proper operation. page 10 of 11 Models AA-5, AA-5A, and AA-5B Annual or 100-hour Inspection Operational Inspection (continued) Insp Mech Procedure Remarks Oi16 Check engine mixture setting and idle speed: 600- 650 rpm, Model AA-5 and AA-5A; 500-650 rpm, Model AA-5B. Oi17 Check Idle cut o↵ on carburetor for proper opera- tion. Oi18 Check ailerons for proper operation. Oi19 Check elevators and trim tabs for proper opera- tion. Oi20 Check flaps for proper operation. Oi21 Check fuel quantity gauges for condition and proper operation. Oi22 Check interior lights for proper operation and ad- justment. Oi23 Check navigation and anti-collision lights for proper operation and landing lights for proper op- eration and adjustment. Oi24 Check pitot heat for proper operation. Oi25 Check stall warning device for operation. Oi26 Inspect engine after ground run-up. Oi27 Flight test and inspect for oil leaks and secure mounting of all components. General Insp Mech Procedure Remarks Gg1 Aircraft cleaned and serviced. Gg2 Aircraft conforms to FAA Specifications. Gg3 Aircraft complies with FAA Airworthiness Direc- tives. Gg4 Aircraft complies with manufacturers’ Service Let- ters and Bulletins. Gg5 Checked for proper Owners Manuals or Pilots Op- erating Handbook. Gg6 Aircraft papers in proper order. Gg7 Make log book entry. page 11 of 11